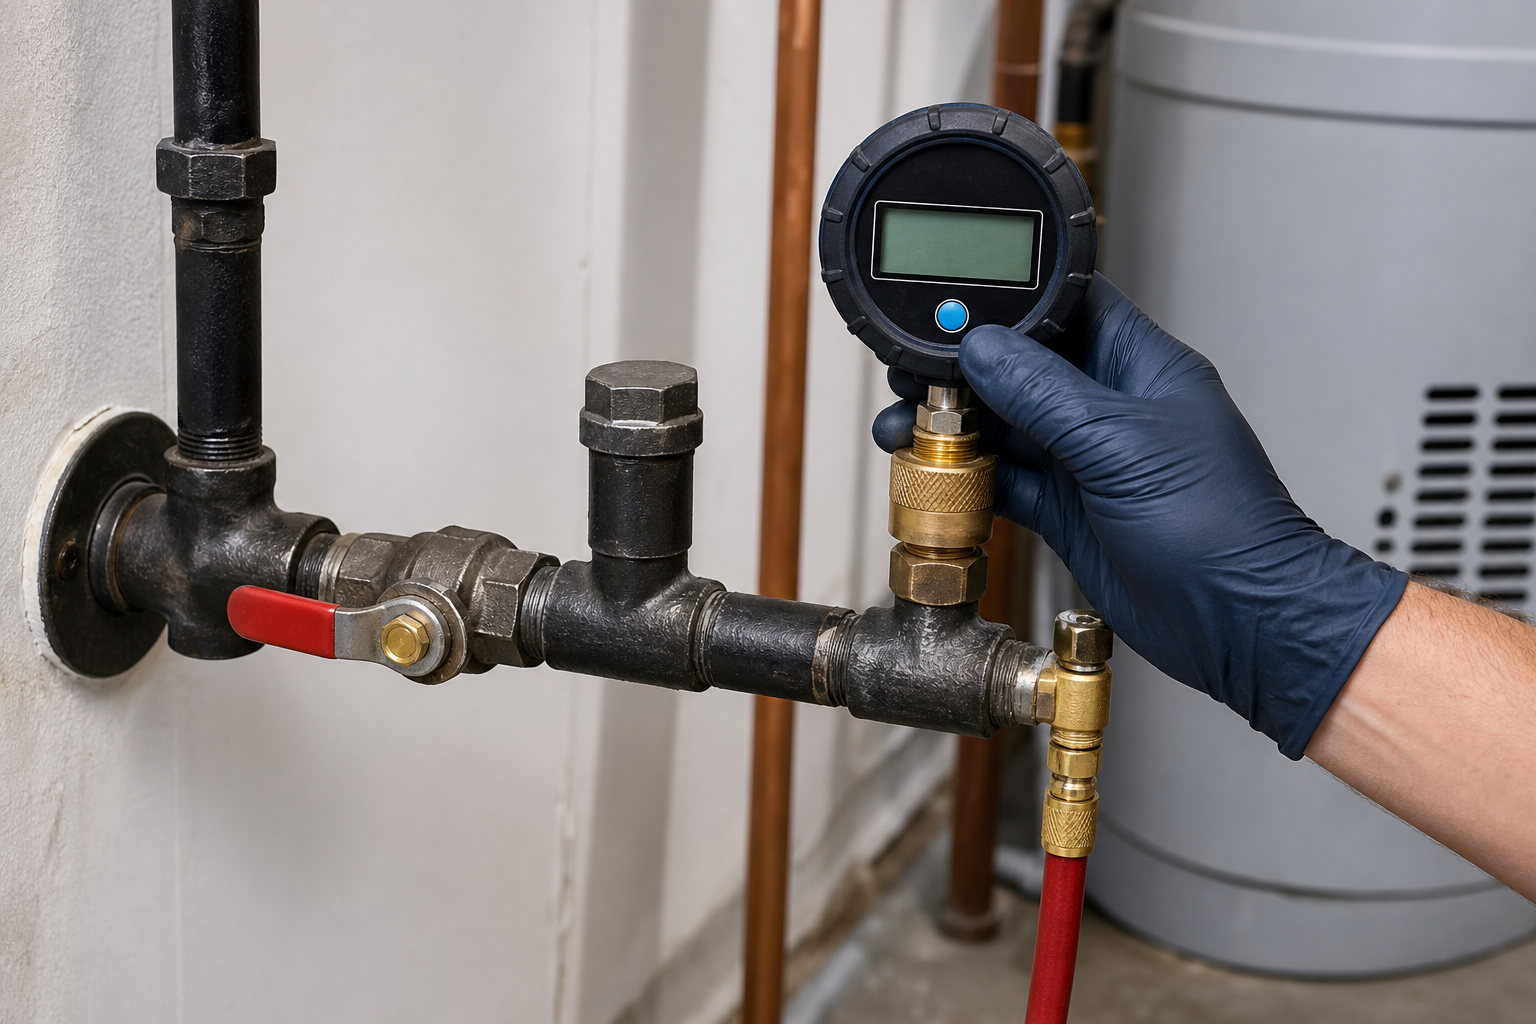
A gas-line pressure test shows whether an isolated section of piping can hold a controlled test pressure without losing it. If the pressure drops during the test, gas-line components may not be sealed well enough to return to service. The result helps a plumber confirm that a leak exists, narrow the part of the system that needs attention, and decide what should be repaired before the line is tested again.
A pressure test is not a homeowner troubleshooting step. It requires the fuel supply to be handled safely, connected equipment to be protected or isolated, and the correct test medium, pressure, gauge, and procedure for the system. Do not connect a compressor or gauge, turn gas valves, loosen fittings, disconnect appliances, or try to find a leak with a flame.
If you smell gas or suspect an active leak, move away from the area and contact the appropriate emergency or utility resource from a safe location. Do not operate switches, create a spark, or return to investigate the piping yourself.
The Test Answers One Important Question
The central question is simple: does the closed piping system hold the test pressure for the required observation period?
The plumber first creates a controlled test setup. The gas supply and connected equipment are handled according to the conditions of the job, and a suitable test instrument is connected to the isolated piping. After the system reaches the chosen test pressure, the plumber watches the gauge or manometer for a change.
A stable reading supports the conclusion that the tested section is holding under those test conditions. A falling reading indicates that pressure is escaping somewhere within the isolated section or test setup. The amount and speed of the pressure change can help the plumber judge whether to check the setup, isolate a smaller section, or begin leak-location work.
A Pressure Drop Confirms a Problem, Not Its Exact Location
One gauge reading does not point to a specific fitting behind a wall. It reports the behavior of everything included in the test boundary. That boundary may contain exposed pipe, concealed runs, threaded joints, valves, branches, and connections.
When pressure falls, a plumber checks that the test equipment and temporary connections are secure. If the test setup is sound, the next step is to narrow the boundary. Accessible branches may be isolated and tested separately so the plumber can determine which part holds and which part loses pressure.
This method prevents a guess based only on where an odor was noticed or where piping is easiest to reach. Gas can move through wall, floor, or cabinet spaces, and the place where it is noticed may not be the point that needs repair.
Section-by-Section Testing Can Narrow the Repair Area
Gas piping often branches to more than one appliance or part of a property. Testing the entire system may confirm leakage without identifying the affected branch. By dividing the system into controlled sections, the plumber can compare results.
For example, one isolated branch may hold pressure while another loses it. That evidence reduces the area that requires further inspection. If a branch contains several accessible connections, the plumber may continue narrowing the test boundary until the likely repair area is practical to inspect.
The number of test steps depends on how the piping is arranged and what can be accessed safely. Concealed piping, shared branches, damaged valves, or previous modifications can make isolation more complex.
Visual Inspection Still Matters
Pressure testing and physical inspection work together. Once testing points toward an affected section, the plumber checks accessible pipe and fittings for conditions such as impact damage, movement, corrosion, a disturbed threaded joint, or an improper connection.
An exposed defect may appear to explain the result, but the full isolated section still matters. Repairing the first visible problem without retesting could leave another leak undiscovered. The pressure test establishes whether the tested boundary holds after the repair, not merely whether one fitting looks better.
Where appropriate, a plumber may use an approved leak-location method on accessible joints after the system has been made safe for that procedure. The choice depends on the piping, accessibility, and conditions found at the property.
The Result Helps Define the Repair Scope
The test can support several different repair decisions:
- A single accessible connection may need a focused correction.
- A damaged valve or short pipe section may need replacement.
- A leaking branch may require further isolation before work begins.
- Concealed piping may require access planning before the affected section can be repaired.
- Multiple weak or damaged areas may make a larger replacement scope more practical than repeated spot repairs.
The pressure result alone does not determine cost or guarantee that every part of the piping is in good condition. It gives the plumber objective evidence about the section being tested. Access, materials, pipe routing, condition, and the number of affected locations shape the actual repair recommendation.
Retesting Confirms the Repaired Section
Repair is not the final diagnostic step. The affected system should be tested again under the appropriate controlled conditions. A stable post-repair result shows that the tested section now holds pressure during that test.
If the reading still falls, the plumber knows that another leak or a test-setup problem remains. The system can be narrowed again instead of being returned to service based on appearance alone.
Any required inspection, utility coordination, or return-to-service procedure depends on the property and the work performed. The plumber should explain what must happen next before appliances or equipment are operated again.
Information That Helps Before the Appointment
From a safe location, you can share observations without touching the gas system:
- Where and when the odor or concern was first noticed.
- Whether a utility or emergency responder has already shut off service.
- Which appliances or areas appeared to be involved.
- Whether construction, appliance work, impact, or recent repairs occurred nearby.
- Which sections of piping are visible and which are concealed.
- Whether the concern appears constant or was noticed only under certain conditions.
Do not re-enter an unsafe area to collect details. A brief account of what happened is enough to help the plumber prepare the first diagnostic steps.
When to Request Gas-Line Diagnosis
Professional evaluation is appropriate when gas service has been shut off because of a suspected leak, a pressure test has failed, accessible piping is damaged, an appliance connection has been disturbed, or a gas odor has been reported. It is also appropriate before assuming that a visible fitting is the only problem.
A controlled test can separate evidence from guesswork. It shows whether the isolated piping holds, helps narrow the affected section, and provides a clear checkpoint after repair.
Schedule Professional Gas-Line Testing
If a gas-line concern in Los Angeles needs controlled testing and repair planning, contact John’s Plumbing & Drain Services. The plumbing team can evaluate the accessible system, determine the appropriate diagnostic steps, and explain the repair and retesting path before the line returns to service.